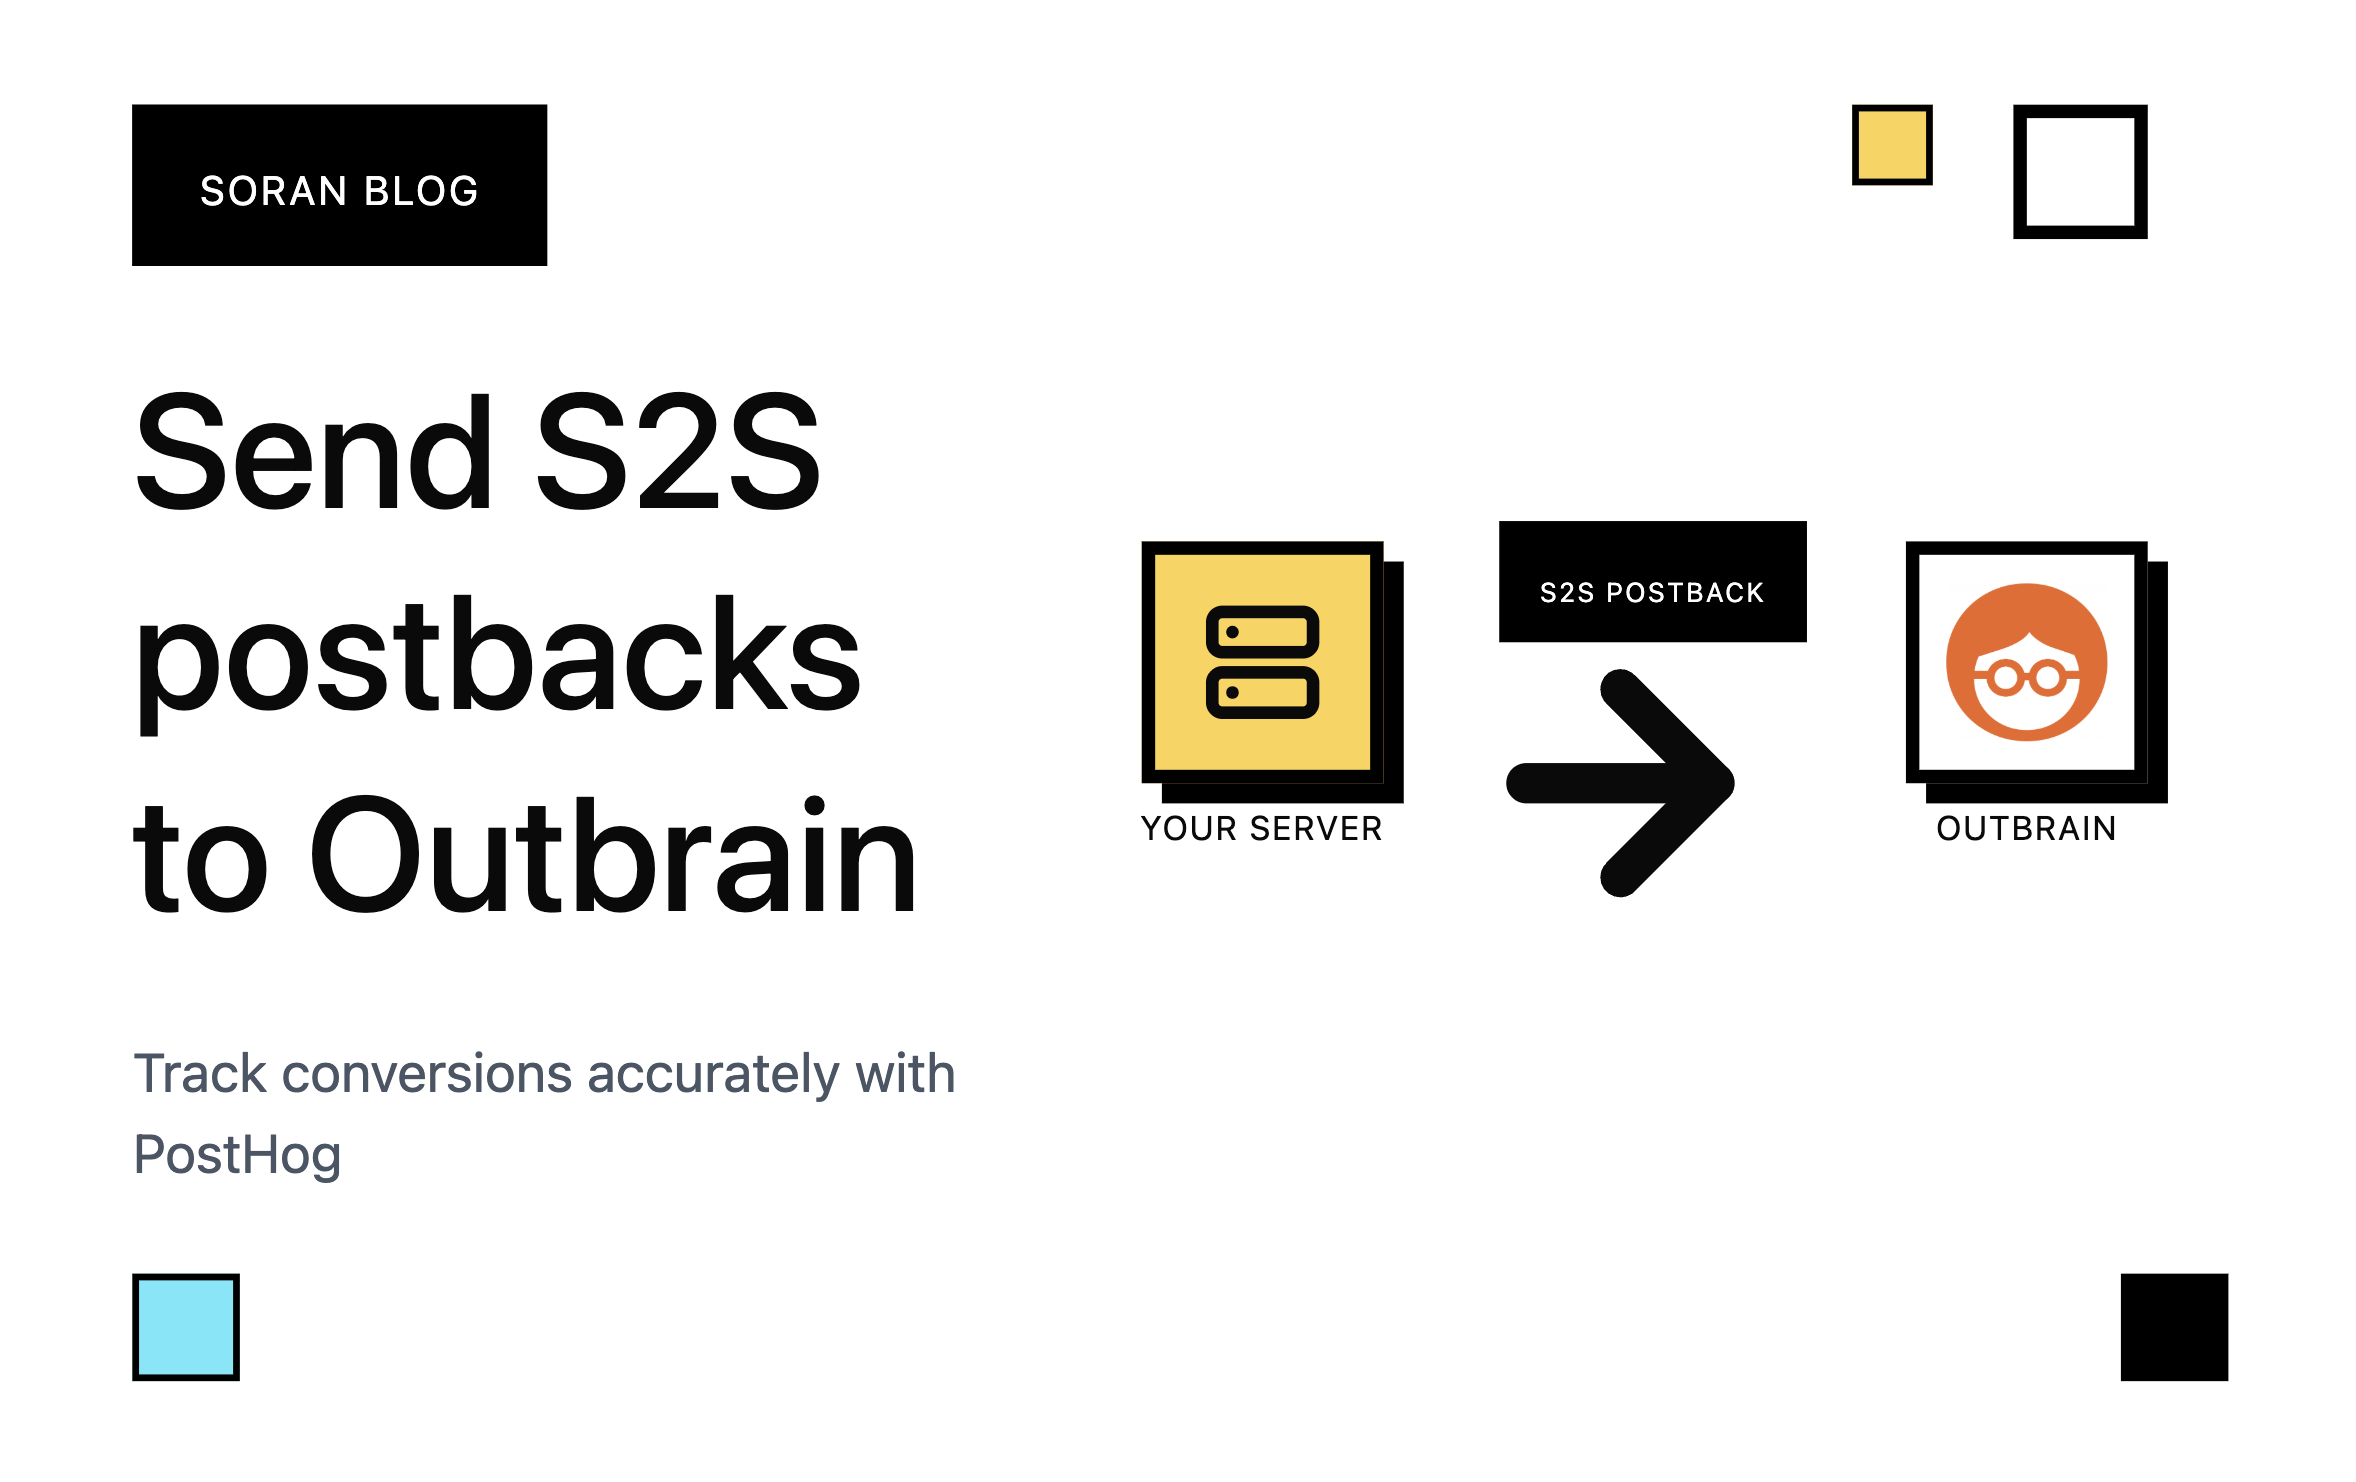
How to send S2S postbacks to Outbrain from PostHog
Getting your Server-to-Server (S2S) events firing over to Outbrain is surprisingly straightforward, especially when you're using a tool like PostHog. The key is setting up your tracking snippet correctly to grab that Outbrain click ID. It acts like the golden ticket linking the conversion back to the original ad click. Making sure those S2S postbacks are rock-solid isn't just nice to have; it's absolutely vital for campaign optimization. Accurate postbacks feed Outbrain's algorithms, letting them make smart bid adjustments that help you get the absolute best return on your ad spend.
How to set up PostHog scripts?
In your website place in the PostHog tracking snippet that can be found in your project settings. It should look like this:
<script>
!function(t,e){var o,n,p,r;e......
....
posthog.init('phc_xxxx', {
    api_host: 'https://us.i.posthog.com',
    defaults: '2025-05-24',
    person_profiles: 'always',
})
</script>
Important: Make sure to replace person_profiles from identified_only to always so that person profiles are always created.
Next we need to set the Outbrain click id on person properties. This will ensure we send the correct click id via S2S postbacks later for all subsequent events. Place the following script to capture Outbrain click ids correctly:
<script>
function readQueryParam(name) {
    const url = new URL(window.location.href);
    return url.searchParams.get(name);
}

const clid = readQueryParam('click_id');
posthog.capture(
    'ad_click',
    {
        $set: { outbrain_clid: clid  },
    }
)
</script>
This script will capture all ad_click events and set the outbrain_clid on the person's properties.
How to set up S2S postbacks in PostHog dashboard?
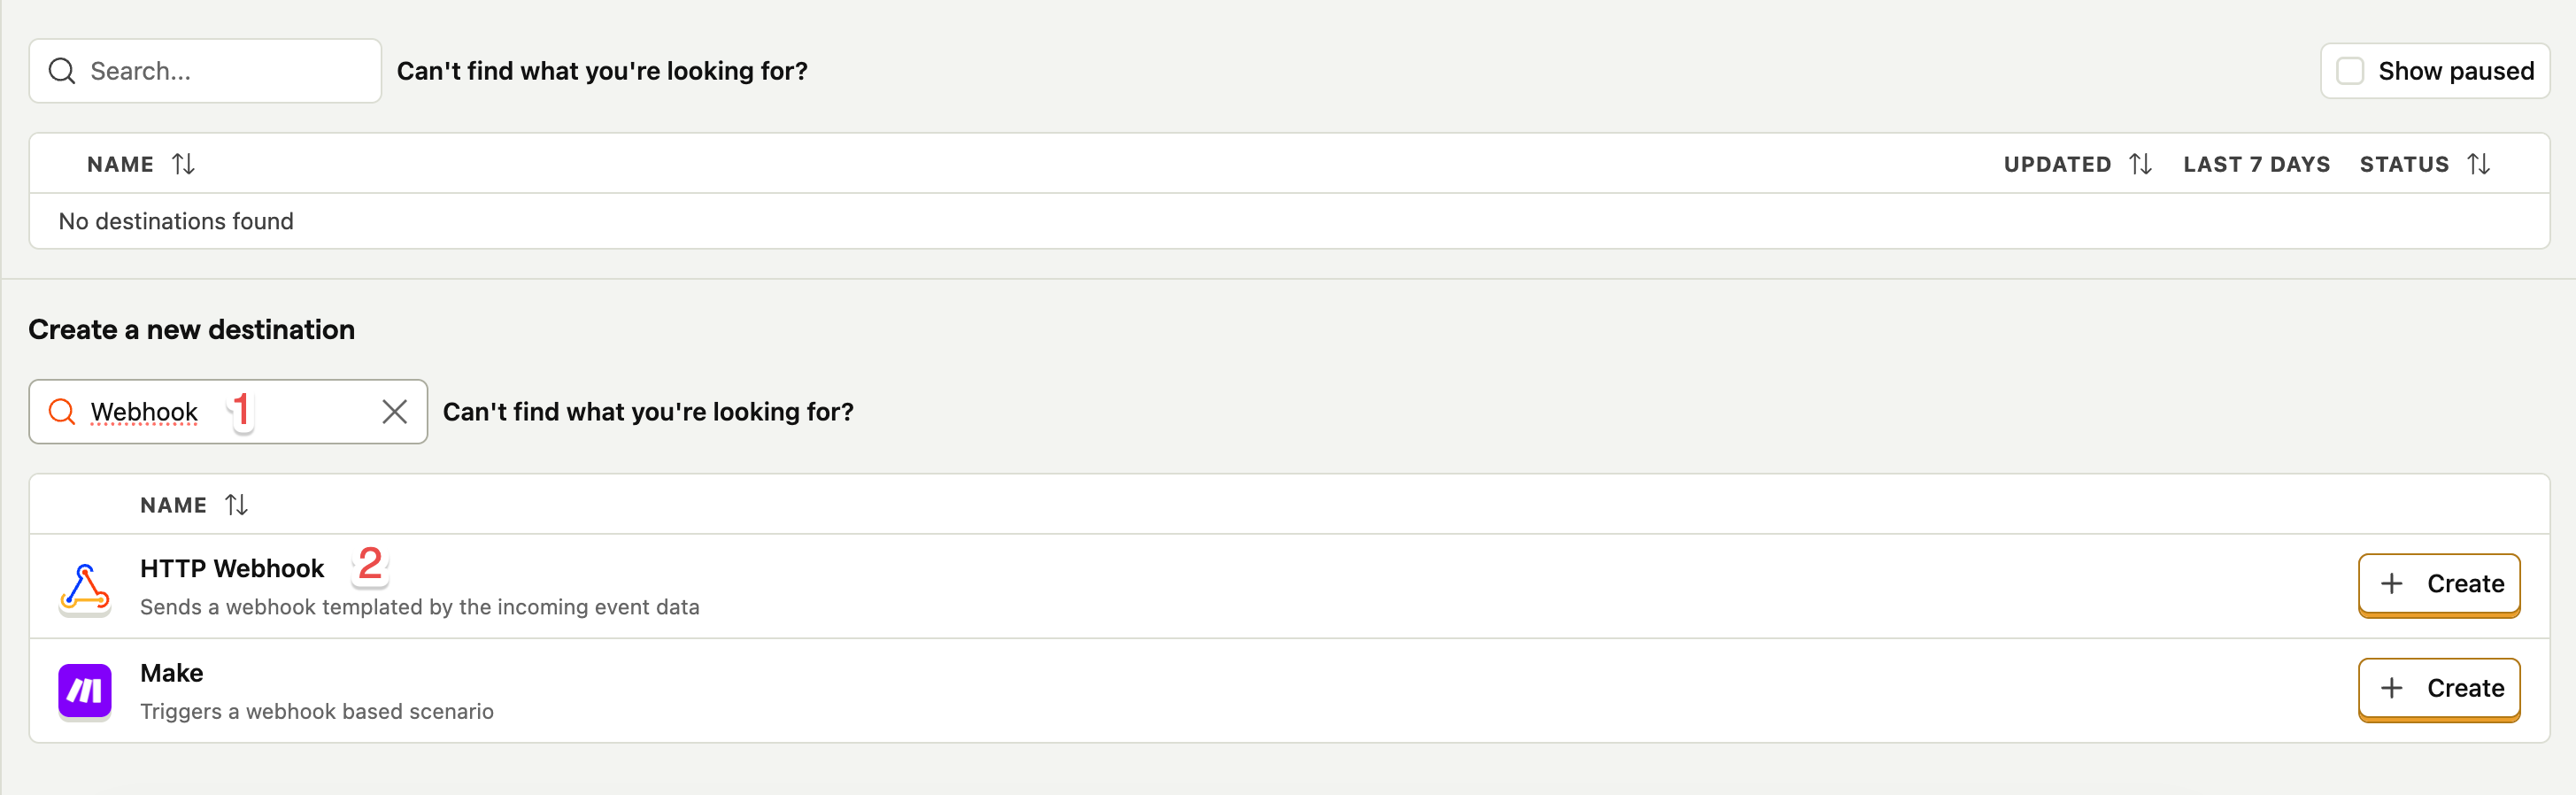
In PostHog create the following Webhook destinations:
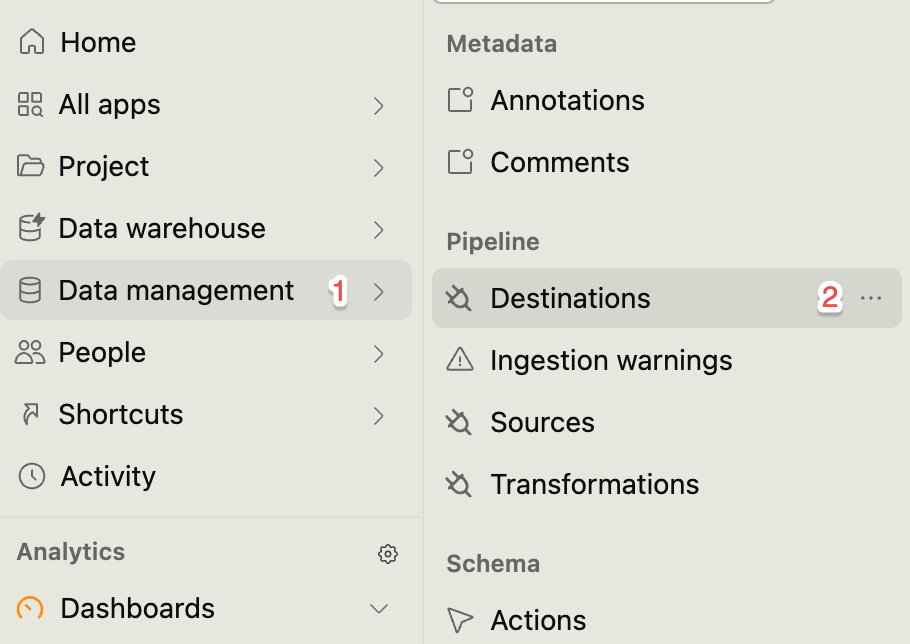
In “Data management” -> Click “Destinations”:
Search for Webhook integration and select “HTTP webhook”.
Next in the HTTP webhook form enter the following URL:
https://tr.outbrain.com/unifiedPixel?ob_click_id={person.properties.outbrain_clid}&name=REPLACE&orderValue={event.properties.payout}¤cy=USD
It passes the same outbrain_clid we set in the beginning. You need to replace the event name manually and optionally pass in revenue and currency. We are passing event.properties.payout, but you can pass static payouts as well.
That’s it 🎉🥳 You have successfully set up S2S postbacks to Outbrain using PostHog. If you liked this post read more helpful tips from Soran blog.


